Split Video From Command Line Using FFmpeg

I was writing a post about You Dont Mess With Zohan movie and I had to split a 50 second video from it.

I have Vlc installed, so I enabled to view the advanced controls and recorded the required portion.


Once it is done, I played it back,  but the audio and video are not syncing. I tried again and the same thing happened again.

This is the video splitted with Vlc.


Next, I splitted video with ffmpeg using this command.
ffmpeg -i input.mp4 -vcodec copy -acodec copy -ss 01:20:12 -t 00:50:00 out.mp4
I splitted correctly and audio/video are synced perfectly well. 

This video is split with ffmpeg.


What Is The Area Code Of Amman?

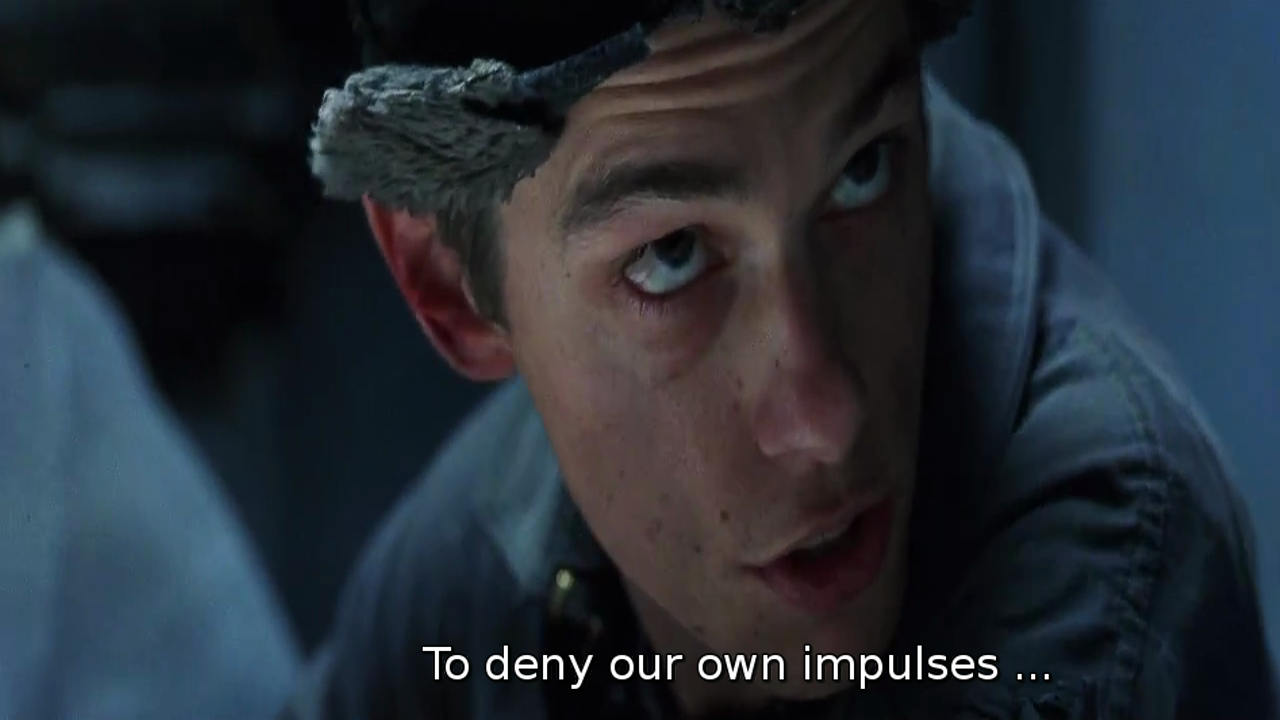
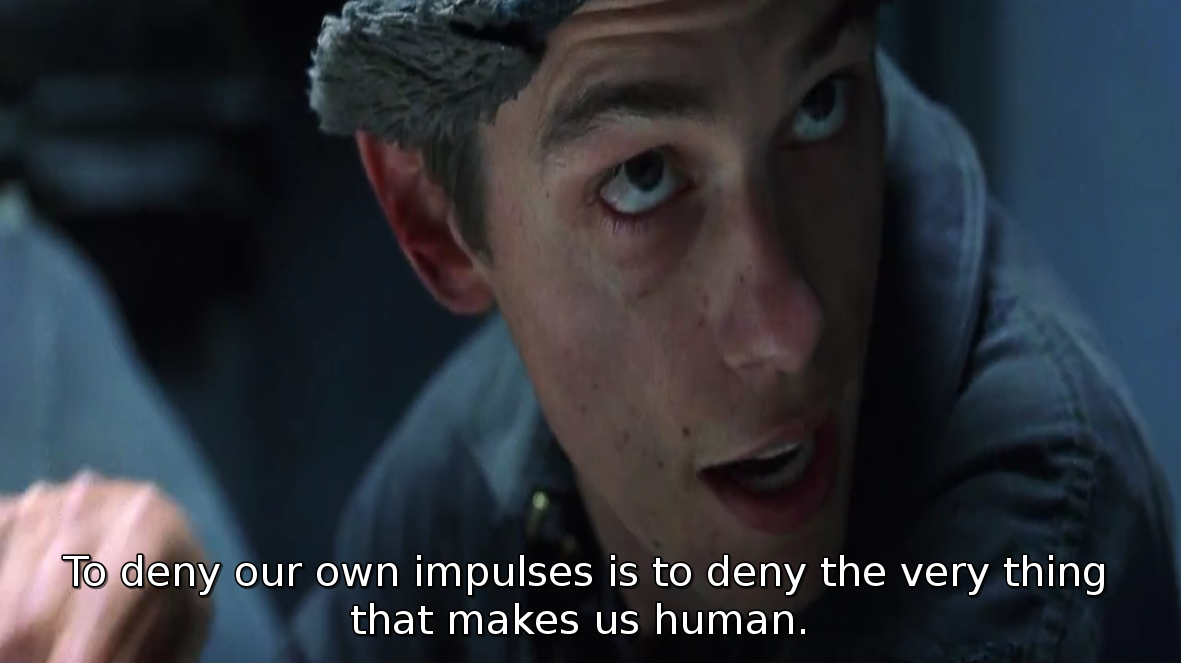
In the movie, You Don't Mess With Zohan, these guys sitting at a dining table, try to call Phantom. One of the guy asks other for area code of Amman where Phantom lives. Here is the scene.


Here is the transcript:

What is area code of Aman? 

sifr (0) wahid (1) wahid (1).
arba'a (4) khamsa (5) talaata (3).
khamsa (5) khamsa (5) sifr (0) sifr (0).
saba'a (7) saba'a (7).
sitta (6) talaata (3) arba'a (4) sitta (6).
wahid (1).
arba'a (4).
sifr (0).
saba'a (7).
talaata (3) arba'a (4) khamsa (5).

So the area code of amman is: 011453550077634561407345!

If you want to learn arabic numerals this will help.
sifr - 0
wahid- 1
itnayn - 2
talaata - 3
arba'a - 4
khamsa - 5
sitta - 6
saba'a - 7
tamaanya - 8
tisa'a - 9

Source: Yahoo Answers

Unix Timestamp, UTC And Their Conversions In Python

Coordinated Universal Time(UTC):

It is the primary time standard by which the world regulates clocks and time. To get current UTC time in Python, we can use datetime module.

In [5]: import datetime

In [6]: datetime.datetime.now(datetime.timezone.utc)
Out[6]: datetime.datetime(2014, 11, 22, 14, 42, 21, 34435, tzinfo=datetime.timezone.utc)

Unix time / POSIX time / Epoch time:

It is a system for describing instants in time, defined as the number of seconds that have elapsed since 00:00:00 Coordinated Universal Time (UTC), Thursday, 1 January 1970, not counting leap seconds. To get Unix timestamp, we can use time module.

In [8]: import time

In [9]: time.time()
Out[9]: 1416667432.5664258

In [10]: int(time.time())
Out[10]: 1416667766

With Pyhon 3.4, we can directly get timestamp from UTC.

In [13]: datetime.datetime.utcnow().timestamp()
Out[13]: 1416649608.58369

Conversions:

To convert Unix timestamp to UTC we can use utcfromtimestamp function.

In [21]: datetime.datetime.utcfromtimestamp(1416668401)
Out[21]: datetime.datetime(2014, 11, 22, 15, 0, 1)

To convert UTC time object to Unix time, we can use strftime function.

In [38]: dt = datetime.datetime.now()

In [39]: dt.strftime("%s")
Out[39]: '1416668938'

Alternatively, we can use calendar.timegen function.

In [46]: import calendar

In [47]: dt = datetime.datetime.utcnow()

In [48]: calendar.timegm(dt.utctimetuple())
Out[48]: 1416669150

[Git] Updating Cloned/Forked Repository On Local Machine and GitHub!

If You have forked a GitHub repo, after a few days/months later and the original master repo might change. So, it is essential to update your forked repo to reflect those changes. One simple solution is, you can delete it and fork again. But, if you have made any changes then you need some other solution.

Updating Cloned Repo On Local Machine:

If you have cloned the repo to your local machine, you can add the original GitHub repository as a "remote". Then you can fetch all the branches from that original repository, and rebase your work to continue working on the upstream version.

From command line you can do this

Add the remote, call it "original":
git remote add original https://github.com/whoever/whatever.git
Fetch all the branches of that remote into remote-tracking branches, such as original/master:
git fetch original
Make sure that you're on your master branch:
git checkout master
Rewrite your master branch so that any commits of yours that aren't already in upstream/master are replayed on top of that other branch:
git rebase original/master
If you don't want to rewrite the history of your master branch, (for example because other people may have cloned it) then you should merge it
git merge original/master
However, for making further pull requests that are as clean as possible, it's probably better to rebase.
 If you've rebased your branch onto upstream/master you may need to force the push in order to push it to your own forked repository on GitHub. You'd do that with:
git push -f origin master

Updating Forked Repo On GitHub:

If you have forked the repo on GitHub, then you can update it with web interface

Go to your fork and issue a Pull Request.
By default this will be your fork on the right (head repo) requesting to push its commits and changes to the original repo (base repo) on the left.
Click the drop down for both base repo and head repo and select each other's repos. You want yours listed on the left (accepting changes) while the original repository is on the right (the one with changes to push). As illustrated in this image:


Send the pull request. If your fork has not had any changes, you should be able to automatically accept the merge.

If your code somehow conflicts or is not quite clean enough, then this will not work to update via the GitHub web interface and you will need grab the code and resolve any conflicts on your machine before pushing back to your fork.

Sources: StackOverflow, WebApps

Automagically Reload Imports In iPython!

When using iPython, users can import required modules to test them. After importing them, if they get modified either by user or some other process, users have to reload it for futher usage.

Depending on the Python version, appropriate reload function can reload modules.

# Python 2.x
In [15]: imp.reload(module)

# Python 3.0–3.3
In [15]: imp.reload(module)

# Python 3.4+
In [15]: importlib.reload(module)

Instead of manually reloading, ipython has autoreload extention which can auto reload modules. For that, load the extention and activate it.

In [15]: %load_ext autoreload

In [16]: %autoreload 2

This can be added to ipython config file so that autoreload gets activated, whenver it starts.

$ ipython profile create

This creates a default config file. Open config file which is present at ~/.ipython/profile_default/ipython_config.py and add these two lines to it.

c.InteractiveShellApp.extensions = ['autoreload']
c.InteractiveShellApp.exec_lines = ['%autoreload 2']

Note that it won't reloads c extensions automatically.

Converting Strings To Correct Types In Python

I was writing custom template tags for one of my Django package. I came across a situation where I had lists in string format. I need to convert them into lists.

temp_str = '[345, 3, 456, 45]'
required_obj = [345, 3, 456, 45]

There are two methods to get this job done.

ast.literal_eval:

This can be used to evaluate strings containing Python values from untrusted sources without parsing values. import ast ast.literal_eval(temp_str)

json.loads:

This is used to deserialize a string to python object using a conversion table.

import json
json.loads(temp_str)
These two functions come in handy whenever you want to convert a list of python objects to their correct types. For example, if you have list of python objects like this
obj_list =  ['hello', '3', '3.64', '-1']

You can convert them to their corresponding types using these functions.

def converter(l):
    for i in l:
        try:
            yield json.loads(i)
        except ValueError:
            yield i
def converter(l):
    for i in l:
        try:
            yield ast.literal_eval(i)
        except ValueError:
            yield i

They yield a objects of corresponding types new_obj_list = ['hello', 3, 3.64, -1]

Scaling Celery - Sending Tasks To Remote Machines

Celery:

Celery is a Python package which implements a task queue mechanism with a foucs on real-time processing, while also supporting task scheduling.
It has 3 main components.
Celery Application(or Client): It is responsible for adding tasks to the queue.
Celery Worker(or Server): It is responsible for executing the tasks given to it.
Broker: It is responsible for transporting messages between client and server.

What You Should Know:

You should know basics of Celery and you should be familiar with
creating celery tasks

from celery import Celery

app = Celery('tasks', backend='amqp',
broker='amqp://<user>:<password>@<ip>/<vhost>')

@app.task
def add(x, y):
return x + y
adding tasks to a queue,

add.apply_async(args=[1,2])
and consuming tasks with a worker

celery worker -A my_app -l info
If your tasks doesn't need much system resources, you can setup all of them in the same machine. But, if you have a lot of jobs which consume resources, then you need to spread them out in several machines.
In this tutorial lets move our celery workers into a remote machine keeping client and broker in same machine.

Sending Tasks To Another Machine:

On Machine A:
  1. Install Celery & RabbitMQ.
  2. Configure RabbitMQ so that Machine B can connect to it.

# add new user
sudo rabbitmqctl add_user <user> <password>

# add new virtual host
sudo rabbitmqctl add_vhost <vhost_name>

# set permissions for user on vhost
sudo rabbitmqctl set_permissions -p <vhost_name> <user> ".*" ".*" ".*"

# restart rabbit
sudo rabbitmqctl restart
  1. Create a new file remote.py with a simple task. Here we have broker installed in machine A. So give ip address of machine 1 in broker url option.

from celery import Celery

app = Celery('tasks', backend='amqp',
broker='amqp://<user>:<password>@<ip>/<vhost>')

def add(x, y):
return x + y
  1. Now we have everything setup on machine A. We can now put some tasks in queue.

In [1]: from remote import add

In [2]: add.delay(1, 2)
Out[2]: <AsyncResult: 3eb96a11-aa61-46d3-9b9d-e0e1703438d0>

In [3]: b.delay(2, 3)
Out[3]: <AsyncResult: ec40db1a-a43c-4486-9530-0a3153fe1380>

In [4]: b.delay(3, 4)
Out[4]: <AsyncResult: ca53a4c7-061b-408e-82ee-86c2d43d21a0>
Everything is setup on machine A. Now lets get into machine B.
On Machine B:
  1. Install Celery.
  2. Copy remote.py file from machine A to this machine.
  3. Run a worker to consume the tasks

celery worker -l info -A remote
As soon as you launch the worker, you will receive the tasks you queued up and gets executed immediately.

[2014-11-09 00:01:19,168: INFO/MainProcess] Received task: remote.add[c2d2bb27-ff5f-47da-b2b9-6fb11669ee1a]
[2014-11-09 00:01:19,170: INFO/MainProcess] Received task: remote.add[8daa1a5c-17d0-46dc-9c93-faf7fbeccdd9]
[2014-11-09 00:01:19,172: INFO/MainProcess] Received task: remote.add[79603d15-24f1-43f8-b8b7-525b7cd4b9a2]
[2014-11-09 00:01:19,401: INFO/MainProcess] Task remote.add[8daa1a5c-17d0-46dc-9c93-faf7fbeccdd9] succeeded in 0.226168102003s: 3
[2014-11-09 00:01:19,462: INFO/MainProcess] Task remote.add[c2d2bb27-ff5f-47da-b2b9-6fb11669ee1a] succeeded in 0.286503815001s: 5
[2014-11-09 00:01:19,464: INFO/MainProcess] Task remote.add[79603d15-24f1-43f8-b8b7-525b7cd4b9a2] succeeded in 0.288741396998s: 7
This is just a simple guide on how to send tasks to remote machines.
Depending on your need, you might have to set up a cluster of servers and route tasks accordingly to scale.

Pandoc: Best Way To Convert Markdown to reStructuredText!

I wrote a simple readme to one of my Python package Fadapa. I built the package using setuptools. In setup.py file, for long_description field I just read README.md file and  assigned it. After uploading the package to PyPi, I saw the page and found that PyPi doesn't support Markdown format. So I had to change it to reStructuredText.

Pandoc is the best tool available to convert markup formats. It supports a lot of formats and you can convert it to any format you want.

If you have a few documents to convert, you can convert them online. You can also install in in your system if you want to convert a lot files. Instructions on how to install on various operating systems is give here.

For ubuntu you can install by
sudo apt-get install pandoc   
Then you can convert files using
pandoc readme.md --from markdown --to rst -s -o readme.rst
This converts readme.md to readme.rst.

Pypandoc is a simple python wrapper for pandoc. Using that also, you can convert files.

Install it using pip
pip install pypandoc
and then to convert files just do
import pypandoc
output = pypandoc.convert('somefile.md', 'rst')


Update: There is an feature request with pull request to add support for Markdown for PyPi.

Django Tips & Tricks #1 - Shell Aliases For Python/Django Developers

Developers and hackers prefer using terminal and spend a lot of time on it. Instead of typing long commands over and over, they can be aliased to shortnames. The shell builtin alias allows users to set aliases.

One of the most used command while setting up development environment is pip install -r requirements.txt This can be aliased to pir.

alias pir='pip install -r requirements.txt

Now to install requirements, type pir and pressing enter. Here are some other aliases related to python which will be useful on a daily basis.

alias py='python'
alias ipy='ipython'
alias py3='python3'
alias ipy3='ipython3'

alias jn='jupyter notebook'

alias wo='workon'
alias pf='pip freeze | sort'
alias pi='pip install'
alias pun='pip uninstall'

alias dj="python manage.py"
alias drs="python manage.py runserver"
alias drp="python manage.py runserverplus"
alias drps="python manage.py runserverplus --print-sql"
alias dsh="python manage.py shell"
alias dsp="python manage.py shell_plus"
alias dsps="python manage.py shell_plus --print-sql"
alias dsm="python manage.py schemamigration"
alias dm="python manage.py migrate"
alias dmm="python manage.py makemigrations"
alias ddd="python manage.py dumpdata"
alias dld="python manage.py loaddata"
alias dt="python manage.py test"

Just add the above aliases to your ~/.bashrc or ~/.zshrc. That's it. Hpy alsng!